Tools:
A – SCREWDRIVER
B – LOWER HARDWARE
C – SCREW
D – 1-1/2″ DIAMOND CUP SAW (40mm)
E – MARIX SPRING WITH LID
Fl – TOP HARDWARE 1
F2 – TOP HARDWARE 2
G – 5/16″ VIDEO DRILL (8mm)
H – 5/16″ BUSHING (8mm)
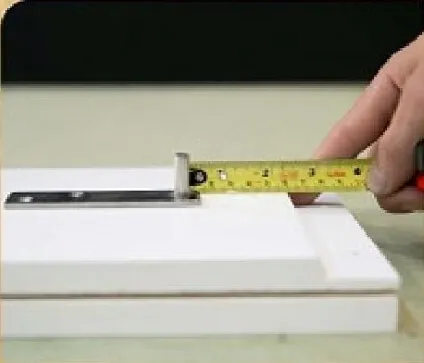
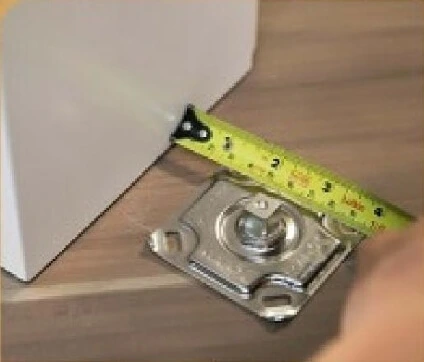
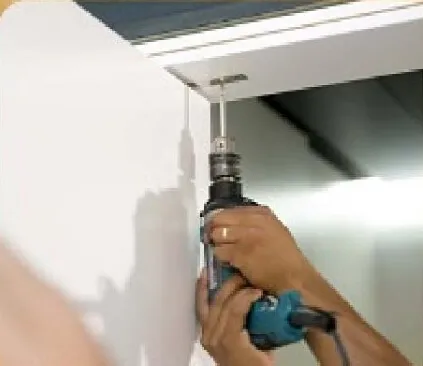
Place the hardware on top of the headboard. Ideal minimum suggestion of distance from the side of the span to thecenter of the hardware axis 60mm, as shown in the photo. Then make the recess to embed the hardware in the lining.
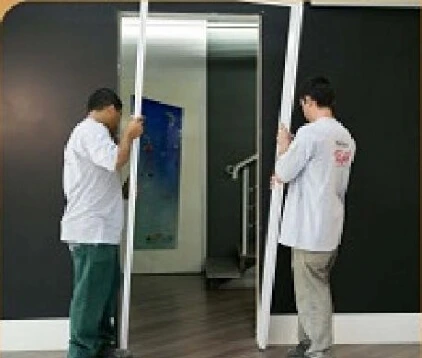
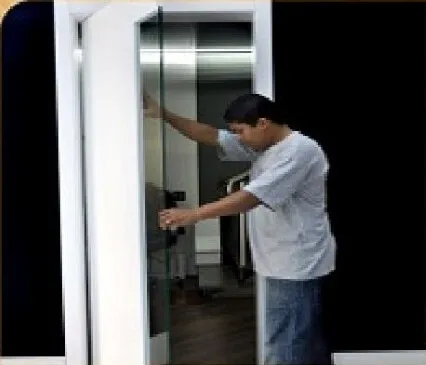
Complete the assembly of the lining and place it in the doorway.
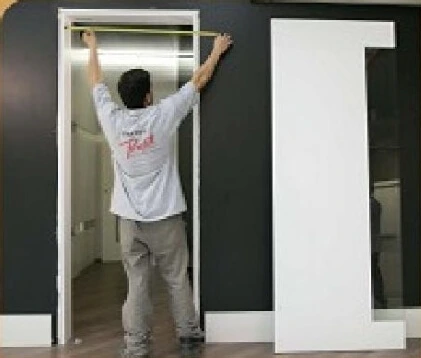
Measure the width of the door;
The ideal clearance at the height of 12mm;
The ideal gap in the 8mm width.
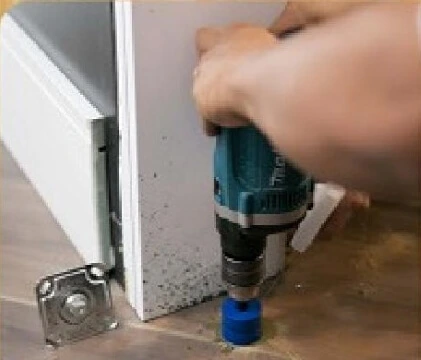
Using the 1-1/2″ diameter diamond hole saw drill, drill a hole 70mm deep. Ideally suggested distance from the side of the span to the spring axis is 60mm. Attention: use water during all drilling.
With the hole ready and cleaned to a depth of 70mm, check that the spring is completely free on the side and bottom.
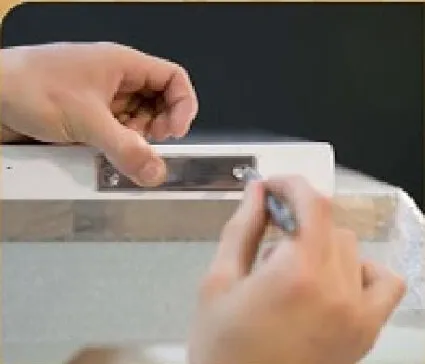
Fixing the upper hardware to the door:
Top: measure 57mm from the side of the door to the center of the hole, as shown in the photo, make a recess and screw the hardware into it.
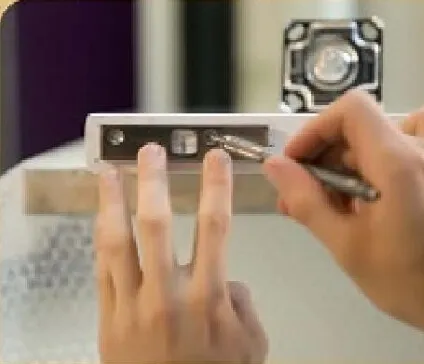
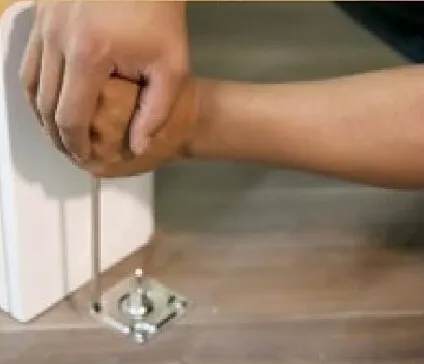
Fixing the lower hardware to the door:
Bottom: measure 57mm from the side of the door to the center of the square of the hardware, as shown in the photo, make a recess and screw the hardware onto it.
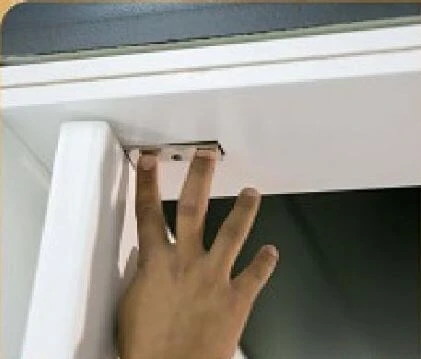
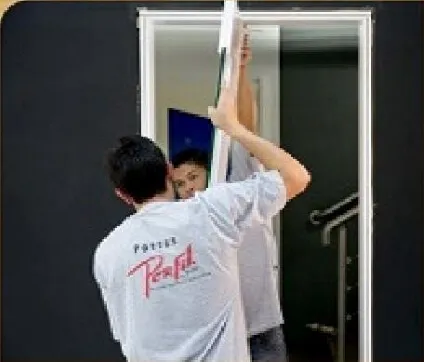
Fit the door at a slight angle to the Marix spring, in the closed position, and then open the door by forcing the spring open until the screws of the upper bracket are accessible. Secure screws to top bracket.

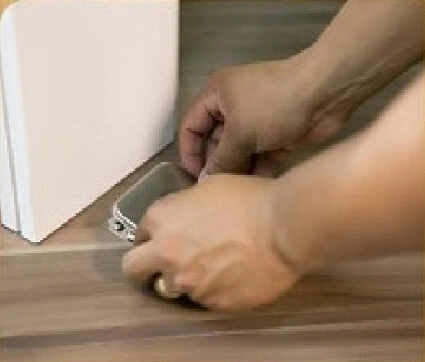
Then, with the door in the closed position, fix two screws on the spring diagonally. Attention: it is essential that the door is in the closed position and that at least 2 screws are fixed diagonally as shown in the photo.
Make the door work by adjusting its ideal alignment using the two screws. Attention: This maneuver is necessary due to the internal spring mechanism and so that the alignment of the door with the lock is well adjusted.
Slightly open the door, freeing access to the screws on the top bracket, then loosening them to remove the door. Return the door to the closed position, and disengage the spring door by removing it.
Install the remaining two screws holding tight. Attention: make sure that the four screws are securely fastened to prevent the spring from moving, thus preventing the door from misaligning the lock.
Place the cap over the Marix spring, pressing it until it snaps into place.
Return the door to the closed position on the Marix spring. Open the door slightly by forcing the spring open to gain access to the upper bracket fixing screws. Reinstall screws on top hardware.
Your Marix door closer is installed.

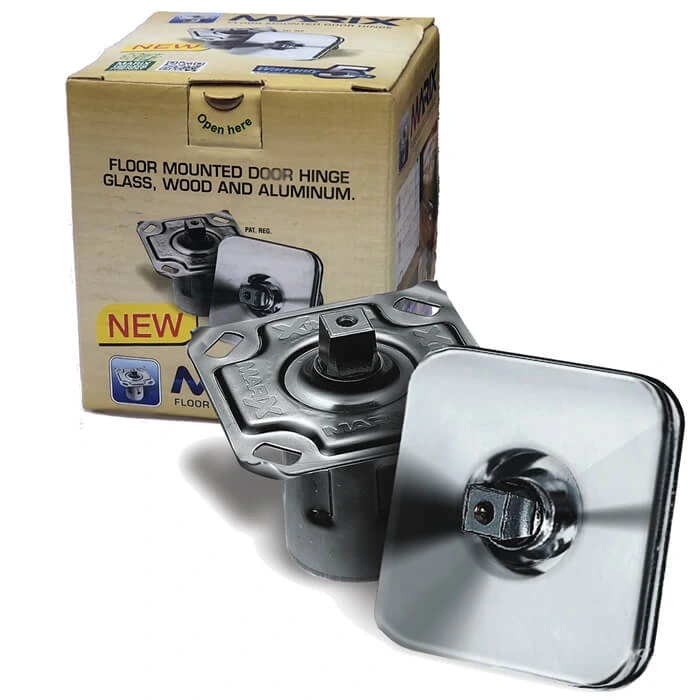
Marix Pivot Door Closer
PACKAGE CONTENT:
• Marix Door Closer with Stainless Steel cover
• Hardware kit for door (3x)
• Installation manual
• Cardboard cradle (2x) – Template
• Warranty term
Price range: $149.00 through $179.00
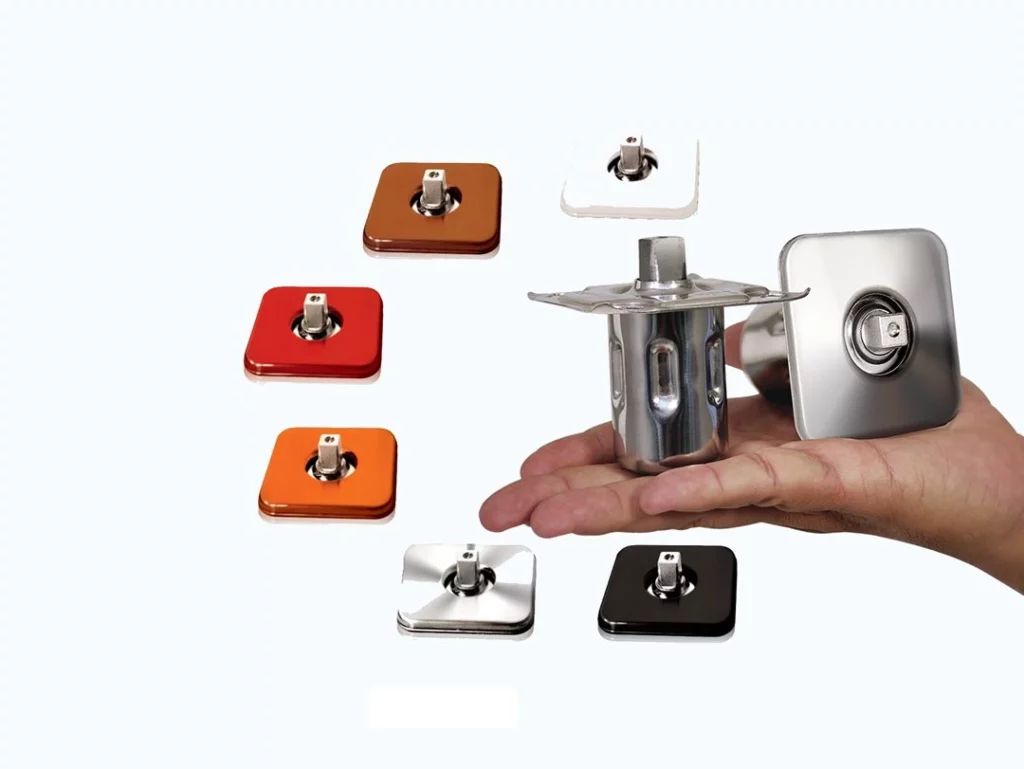
Marix Pivot Door Closer Colored Cover
New colored covers for Marix door Closers,
fit your ambient, and now even more discreet.
Available in many colors to meet your projects needs.
Become a Marix Distributor in Columbus United States
https://www.youtube.com/sh…
$19.90
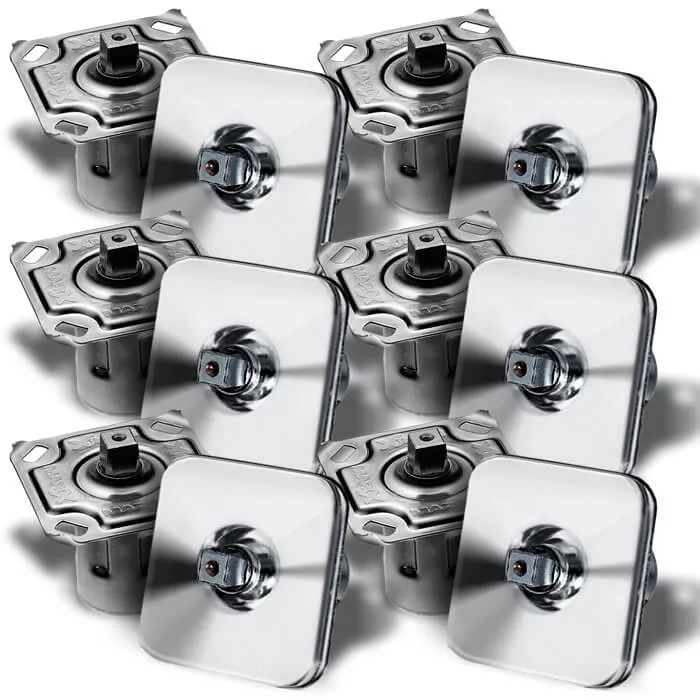
12 Marix Pivot Door Closers
UNIT PACKAGE CONTENT:
• Marix Door Closer with Stainless Steel cover
• Hardware kit for door (3x)
• Installation manual
• Cardboard cradle (2x) – Template
• Warranty term
Price range: $1,220.00 through $1,660.00